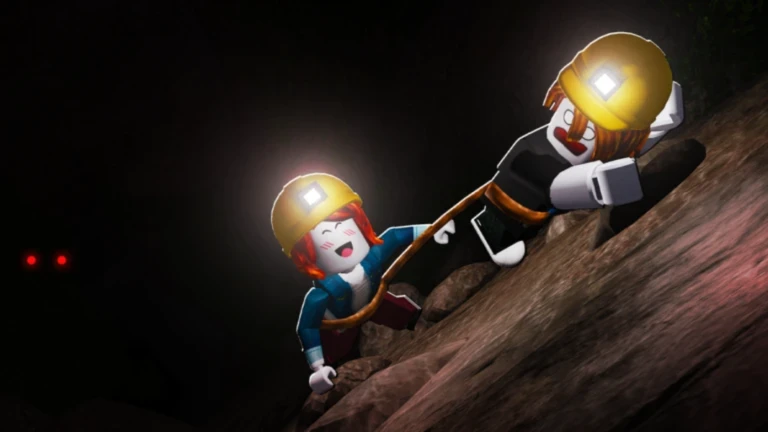
- Escape the Cave secrets include hidden Diamonds, secret areas, and optional characters off the main route.
- Complete the escape first: secure the main ending before hunting optional discoveries.
- Side passages matter: unusual openings and concealed turns often hide the best rewards.
- Use Easy mode for risky exploration runs when Hard mode makes a location dangerous.
- Record locations you find so future farming and exploration routes get faster.
How Escape the Cave Secrets Work
In Escape the Cave, the main objective is advancing through the tunnel, collecting resources, and completing the escape. Secrets are the optional layer on top of that core loop: hidden Diamonds tucked off the direct path, secret areas behind non-obvious openings, and characters you only meet by exploring beyond what the ending strictly requires.
The design rewards curiosity, but it punishes players who chase every side path during a first run. A failed expedition with three Diamonds is worth less than a completed escape with a modest haul, because consistent completions fund the upgrades that make later exploration safe.
| Secret Type | What It Is | Where to Look | Risk Level |
|---|---|---|---|
| Hidden Diamonds | Extra collectibles away from the main route | Reachable side paths, overlooked spaces | Medium |
| Secret Areas | Optional rooms separated from progression | Unusual openings, concealed turns | Medium |
| Characters | Optional NPC discoveries | Areas with unusual scenery or interactables | Low to High |
| Side Passages | Branches off the primary tunnel | Any path that seems unnecessary | Varies |
Do not spend your entire first run in early side areas. Players who explore before securing the route often run out of time or resources before reaching the final escape sequence. Finish first, explore second.
Hidden Diamonds and Secret Areas
Hidden Diamonds sit away from the most direct route through the tunnel. The reliable way to find them is a dedicated exploration run rather than opportunistic detours during a completion attempt.
Where Diamonds and secret areas typically appear:
- Side passages after the main route is secure — check branches before advancing far beyond them
- Spaces that look accessible but easy to overlook — corners, ledges, and gaps that seem decorative
- Paths that do not appear necessary for progression — if a route seems pointless, that is often the point
- Areas with unusual scenery or interactable objects — the game signals optional content through environmental changes
| Exploration Cue | What It Usually Means | Recommended Action |
|---|---|---|
| Branching tunnel with no markers | Possible secret area or dead end | Quick check, return if empty |
| Unusual lighting or scenery | Optional discovery nearby | Search the surrounding space |
| Concealed turn behind geometry | Hidden passage | Enter with a teammate watching the route |
| Interactable object | Character or discovery trigger | Interact, then note the location |
In cooperative runs, have one player remember the route back while others check the area. This prevents the most common exploration failure: the team becoming separated deep in the cave with no clear path to regroup.
Step-by-Step Completionist Route
The completionist approach splits discovery across multiple runs instead of gambling everything on one high-risk escape. Follow this sequence:
Run One: Secure the Ending
Follow the primary tunnel route, keep enough resources and time for the final escape sequence, and prioritize reaching the end. Complete the escape objective to unlock the main ending. Avoid optional exploration entirely on this run.
Run Two: Collect Nearby Diamonds
With the ending secured, re-enter and prioritize hidden Diamonds along side passages close to the main route. Check reachable branches without committing to deep exploration.
Run Three: Map Secret Areas
Revisit unexplored branches and investigate concealed openings. Mark what you find — recorded locations make every future route faster and safer.
Final Pass: Characters and Remaining Discoveries
Confirm optional characters and any remaining discoveries, using the safest available difficulty. Treat these as separate objectives, not part of a completion attempt.
Splitting discovery into stages means a failure in any single run costs little. Each run has one clear goal, which keeps risk low and makes progress easy to track across sessions.
Preparation and Difficulty for Secret Hunting
Your equipment, class, and difficulty choice determine how safely you can explore. Easy mode is forgiving enough for route practice and Diamond hunting; Hard mode demands planned expeditions.
| Preparation Factor | Easy Mode Exploration | Hard Mode Exploration |
|---|---|---|
| Equipment | Basic gear is suitable | Upgrade your weakest point first |
| Class choice | Flexible, general-purpose works | Complementary team roles |
| Route knowledge | Learn as you go | Planned route and regroup point |
| Pets | Any practical bonus | Effects that reduce run failure |
| Retreat plan | Optional | Essential — know when to pull back |
Solo Explorers
- All-round class covers mining, movement, survival
- Dependable pet bonus over specialist effects
- Stick close to the main route
Cooperative Teams
- Split roles: miner, scout, support
- Announce movement before going deeper
- Regroup before risky sections
Completionists
- Both difficulties to reach every location
- Gems saved for long-term upgrades
- Recorded map of found secrets
If a secret location is too dangerous to reach in Hard mode, explore it in Easy mode first to confirm it exists, then return prepared. Some spots are simply easier to verify when failure is cheap.
Secret Hunting Checklist
Discovery Goals:
- Complete the main ending on a clean first run
- Collect all nearby hidden Diamonds on side passages
- Investigate every branch that seems unnecessary
- Confirm optional characters and interactables
- Record every secret location for future runs
Common exploration mistakes to avoid:
- Detouring before the main route is secure
- Multiple players mining the same deposit while branches go unchecked
- Spending Gems immediately instead of saving for progression upgrades
- Entering Hard mode without a regroup point or retreat plan
Gems are rarer than standard mineable resources. Save them for upgrades that remain useful across multiple runs — better movement and survival gear directly increases how deep you can safely explore.
FAQ
Q: Do I need to find every secret to complete the main ending in Escape the Cave?
No. The main ending is reached by progressing through the tunnel and completing the escape objective. Hidden Diamonds, secret areas, and characters are optional discoveries aimed at completionists.
Q: Where are hidden Diamonds usually located?
Away from the most direct route — reachable side paths, overlooked spaces, and branches that do not appear necessary for progression. Use a dedicated exploration run instead of risking your first completion.
Q: Should I hunt Escape the Cave secrets in Easy or Hard mode?
Use Easy mode to learn routes and verify difficult locations safely. Attempt Hard mode exploration only with upgraded equipment, a planned route, a regroup point, and enough experience to know when to retreat.
Q: How do I avoid losing my team during secret exploration?
Keep one player tracking the route back to the main path, inspect branches before advancing beyond them, and regroup before risky sections or the final escape. Communication prevents separation deep in the cave.