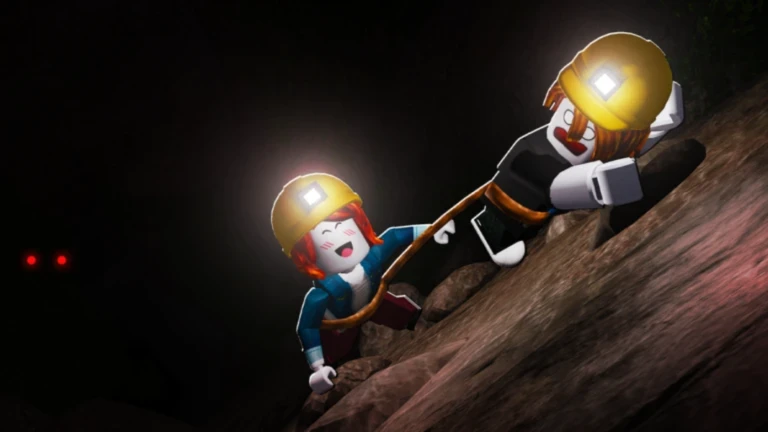
- Escape the Cave hard mode punishes improvised runs; plan every expedition like a mission.
- Upgrade first: fix your weakest link in mining speed, movement, or carrying capacity.
- Class synergy matters: groups should cover mining, movement, and survival roles.
- Completion beats greed: prioritize reaching the exit over marginal extra resources.
- Use Easy mode to learn the route and build currency before repeated Hard attempts.
Hard Mode vs Easy Mode: What Actually Changes
Both modes share the same core objective: advance through the cave, collect resources, and escape successfully. The difference is how expensive mistakes become. In Easy mode a wrong turn costs time; in Hard mode it can cost the entire run. That single change reshapes every decision you make, from equipment purchases to how long you linger in a side passage.
Here is the full comparison:
| Category | Easy Mode | Hard Mode |
|---|---|---|
| Difficulty | Forgiving, good for route practice | Demanding on movement, timing, and coordination |
| Rewards | Stable income from consistent completions | Better payoff, but failed runs hurt farming efficiency |
| Equipment | Basic gear is workable | Upgraded gear covering your weakest point |
| Class Choice | Flexible, experimental | Complementary roles, no overlap |
| Preparation | Review route and resource spots | Planned route, regroup point, suitable pets |
| Run Strategy | Collect nearby resources freely | Stay together, limit detours, prioritize completion |
Do not attempt Hard mode if your team regularly runs out of time, loses members, or cannot reach the final sections in Easy mode. Treat those failures as checklist items to fix, not bad luck.
Best Class Roles for Hard Mode Runs
Solo players should favor a reliable all-round class, because one character must handle mining, movement, and survival alone. Groups should specialize, with each player covering a different weakness. The strongest Hard mode teams avoid stacking the same role twice.
| Role | Tier | Strengths | Best For |
|---|---|---|---|
| Balanced Progression Miner | S | Reliable mining plus movement support | Solo players and route learners |
| Resource Farming Miner | A | Strong repeated trips, funds upgrades | Currency-focused groups |
| Speed Miner | A | Cuts travel downtime, reaches deep areas fast | Experienced players who know routes |
| Difficult-Run Specialist | B | Built for survival and consistency | Well-equipped Hard mode teams |
Solo Loadout
- Balanced class for mining and movement
- All-purpose pet with a dependable bonus
- Upgrade survival and capacity together
Team Loadout
- Complementary classes, no duplicate roles
- Split pets between mining, collection, safety
- Assign a leader to call regroups and retreats
In cooperative runs, divide nearby resource areas instead of everyone mining the same deposit. Announce when you move deeper, and always regroup before risky sections or the final escape.
Equipment Checklist Before a Hard Run
Your upgrade order should attack the biggest bottleneck in your current setup, not the most expensive item on the shelf. Use this priority table to decide where your Cash and Gems go first.
| Upgrade | What It Fixes | When to Buy | Priority |
|---|---|---|---|
| Pickaxes | Slow mining on common rocks | Early, before Hard attempts | High |
| Backpacks | Full storage cutting runs short | Whenever backpack fills mid-route | High |
| Cars | Long travel times to deep areas | When travel dominates run time | High for long runs |
| Drills | Sustained gathering speed | After stable income, mid-game | Medium-High |
| Dynamite | Time-consuming obstacles | Selectively, after core gear | Situational |
Save Gems for unlocks that stay useful across multiple runs. Compare the next upgrade against your current bottleneck before purchasing, rather than spending the moment you earn them.
Step-by-Step Hard Mode Run Strategy
Follow this sequence every time you enter Hard mode. A repeatable process is what turns lucky completions into consistent ones.
Plan the Route
Decide the mining route, side-resource stops, and a regroup point before entering. Know which sections your team treats as retreat thresholds.
Gear and Assign Roles
Equip upgraded tools, suitable pets, and complementary classes. Confirm each player's role so nobody overlaps.
Mine While Advancing
Collect visible resources along the main route. Avoid long detours until the tunnel ahead is secure.
Regroup Before the Final Section
Reunite the team, confirm everyone has enough capacity and time, and cut optional exploration from this point on.
Escape and Review
Complete the escape objective, then note what slowed the run. Spend earnings on that bottleneck before the next attempt.
The best Hard mode strategy is the one that produces successful completions repeatedly. A finished run with moderate collection beats an ambitious attempt that ends before the exit.
Hard Mode Readiness Checklist
Confirm Before Entering Hard Mode:
- Team completes Easy runs consistently without losing members
- Mining power upgraded so common rocks break quickly
- Backpack capacity finishes the planned route without forced returns
- Movement or transport covers the deepest section on the route
- Roles assigned with no duplicate classes in the group
- Regroup point and retreat conditions agreed before entering
FAQ
Q: When should I switch from Easy to Hard mode in Escape the Cave?
Switch once you can complete Easy runs consistently, have upgraded your weakest equipment bottleneck, and know the cave route well enough to plan regroup points instead of improvising.
Q: What is the best class for Hard mode?
For solo play, a balanced progression miner is the most reliable choice. For groups, pick complementary classes covering mining, movement, and survival, and avoid stacking the same role.
Q: Should I explore side passages during a Hard mode run?
Only collect resources that are reachable without delaying the run or splitting the team. Save full exploration of hidden areas and Diamonds for dedicated runs in a safer difficulty.
Q: How do I spend Gems before a Hard mode attempt?
Compare each available upgrade against your current bottleneck, such as mining speed, capacity, or movement. Save Gems for unlocks that remain useful across many runs rather than spending immediately.