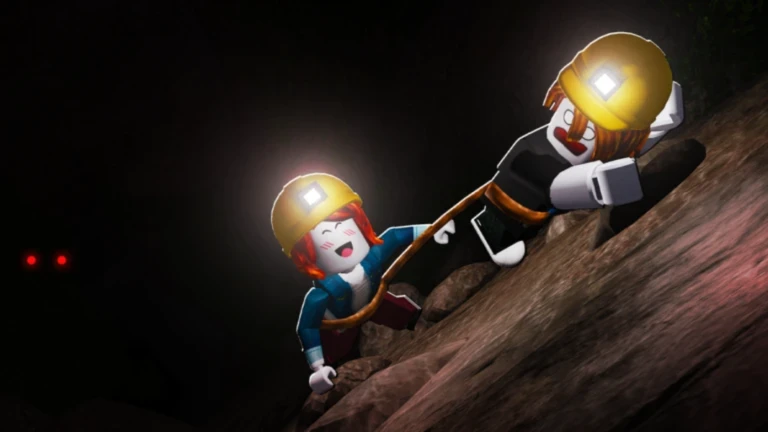
- Escape the Cave Chapter 2 demands stronger gear than the opening section, so upgrade before pushing deeper.
- Backpack and pickaxe upgrades deliver the biggest early value for Chapter 2 mining routes.
- Sell before storage fills — a full backpack ends your run momentum and wastes travel time.
- Save Gems for upgrades that benefit multiple future runs, not quick conveniences.
- Practice the route in Easy mode before attempting Chapter 2 in Hard mode.
What Changes in Escape the Cave Chapter 2
Chapter 2 marks the transition from casual surface mining to a genuine expedition. Rocks take longer to break, deposits sit farther from the selling area, and the route toward the exit introduces tighter passages and dead-end branches. Players who enter with Chapter 1 equipment often stall here, not because the obstacles are unfair, but because their mining speed, carrying capacity, and movement tools no longer match the route's demands.
The core loop stays the same — mine rocks, collect resources, sell materials, and reinvest in upgrades — but every step takes longer if you are under-equipped. The biggest difference is travel time. In Chapter 2, the distance between valuable deposits and the selling area grows significantly, which makes transportation and backpack upgrades far more valuable than they were earlier.
| Aspect | Chapter 1 | Chapter 2 |
|---|---|---|
| Rock hardness | Low, basic pickaxe works | Higher, mid-tier tools recommended |
| Route length | Short loops near the seller | Longer trips, travel time matters |
| Key upgrade | Starting pickaxe | Backpack, drills, transportation |
| Currency flow | Small, frequent sales | Larger hauls per trip |
| Risk of stalling | Low | High if you skip upgrades |
Most players get stuck in Chapter 2 because they spend every sale immediately instead of building toward a backpack or pickaxe upgrade. Save toward your current bottleneck before pushing deeper into the tunnel.
Gear and Upgrade Priorities
Upgrade decisions in Chapter 2 should reduce mining time, increase carrying capacity, or cut travel downtime. Instead of buying whatever is newest, identify which part of your run is slowest and fix that first.
| Upgrade | Effect | When to Buy | Priority |
|---|---|---|---|
| Pickaxe | Breaks rocks faster | When common rocks take too long | ★★★★★ |
| Backpack | Carries more per trip | When storage fills mid-route | ★★★★★ |
| Drill | Sustained mining power | After stable income, mining is the limit | ★★★★ |
| Car / transport | Faster long trips | When travel dominates run time | ★★★★ |
| Dynamite | Clears stubborn obstacles | Situational, saves time on specific spots | ★★ |
Farming Focus
- Pickaxe first, then backpack
- Best for players who farm repeatedly
- Funds all later upgrades
Traversal Focus
- Car and movement upgrades
- Best once routes extend deep
- Reduces downtime between sales
Survival Focus
- Balanced gear for Hard mode
- Best for consistent completions
- Rewards planning over speed
Upgrade the weakest part of your setup, not the most expensive item on the shelf. A cheap backpack upgrade often beats a flashy tool when your runs keep ending with a full inventory.
Chapter 2 Step-by-Step Walkthrough
Follow this sequence to move through Chapter 2 efficiently. The order matters: building income first makes every later step cheaper in real time.
Farm the Chapter 1 Edge
Use your current gear on deposits near the boundary of Chapter 2. Sell frequently and build a currency cushion before committing to the longer route.
Buy the Bottleneck Upgrade
Identify whether mining speed or carrying capacity limits your runs, then purchase that upgrade. Most players should target a stronger pickaxe or a larger backpack here.
Scout the Chapter 2 Route
Enter with light expectations on your first trip. Note deposit locations, branch points, and the path back to the main tunnel without trying to collect everything.
Run Efficient Collection Loops
Mine the deposits along your scouted route, skip long detours, and return to sell before your backpack fills. Consistent loops beat one ambitious trip.
Push Toward the Exit
Once loops feel comfortable, extend toward the exit while balancing mining speed, storage, and travel. Regroup before the final section if playing co-op.
Before each deeper push, confirm you can still reach the selling area comfortably. If a run feels risky, bank your resources first — a completed moderate haul always beats a failed ambitious one.
Easy vs Hard Mode in Chapter 2
Chapter 2 is where the difficulty choice starts to matter. Hard mode offers stronger rewards but punishes inefficient routes and unprepared equipment. Use Easy mode to learn the layout and build reserves first.
| Category | Easy Mode | Hard Mode |
|---|---|---|
| Best for | Learning routes, stable income | Prepared players seeking rewards |
| Equipment | Basic gear is workable | Upgraded gear strongly recommended |
| Class pick | Flexible, experimental | Complementary team roles |
| Failure cost | Low | Failed runs reduce farming efficiency |
| Strategy | Collect nearby resources freely | Limit detours, prioritize completion |
Do not enter Hard mode Chapter 2 if your team regularly runs out of time, loses members, or cannot reach the final sections in Easy mode. Upgrade the failing system first.
Gems, Secrets, and Completion Goals
Gems are rarer than mined resources and should be reserved for upgrades that stay useful across multiple runs. Chapter 2 also introduces side passages worth revisiting — hidden Diamonds and secret areas are usually found off the direct route, so explore deliberately after your first successful completion rather than during it.
For completionists, split the work across runs: first secure the main route, then hunt nearby hidden Diamonds, then investigate branches and secret areas on a dedicated exploration pass.
Chapter 2 Milestones:
- Own a mid-tier pickaxe and enlarged backpack
- Complete one full Chapter 2 route in Easy mode
- Build a Gems reserve before the next major upgrade
- Scout at least two side passages for hidden Diamonds
- Clear Chapter 2 in Hard mode with a planned route
Use a dedicated exploration run for secrets instead of risking your first completion. Record deposit and secret locations so future farming loops get faster each time.
Chapter 2 FAQ
Q: What is the first upgrade I should buy for Escape the Cave Chapter 2?
Most players should buy a stronger pickaxe or a larger backpack first. Choose whichever system is your current bottleneck: if rocks break too slowly, upgrade the pickaxe; if your storage fills before you finish a route, upgrade the backpack.
Q: Should I attempt Chapter 2 in Hard mode right away?
No. Learn the Chapter 2 layout and build equipment in Easy mode first. Hard mode punishes inefficient routes and weak gear, and failed runs reduce your overall farming efficiency.
Q: How should I spend Gems in Chapter 2?
Save Gems for upgrades or unlocks that remain useful across multiple runs. Compare the next available upgrade against your current bottleneck before spending, rather than buying immediately after earning them.
Q: Where do I find hidden Diamonds and secret areas in Chapter 2?
They are typically located off the direct route — in reachable side passages, corners, and openings that are easy to overlook. After securing your first Chapter 2 completion, run a dedicated exploration pass and check alternate branches.