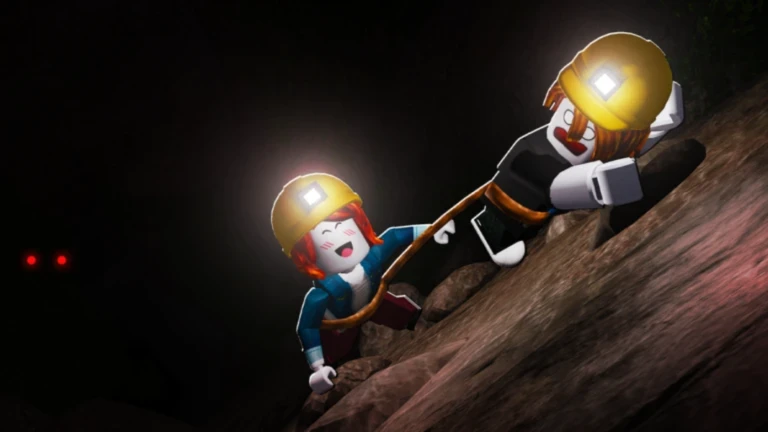
- Escape the Cave walkthrough covers mining, selling, upgrading, and escaping in one continuous loop.
- Early game: prioritize a stronger pickaxe and backpack before traveling deeper.
- Hard mode: prepare upgraded equipment and a planned route before attempting it.
- Secrets: explore side passages on a dedicated run, not during your first completion.
- Co-op: assign roles and regroup before risky sections to keep every escape alive.
Escape the Cave Walkthrough: The Core Loop
Escape the Cave is built around one repeating loop: mine rocks, carry resources back, sell them, and reinvest into upgrades that let you push deeper toward the exit. Every successful run follows the same rhythm, and the fastest players are simply the ones who waste the least time inside that loop.
Before diving into the full walkthrough, watch this gameplay overview to see the loop in action:
Video Highlights:
- See how mining, selling, and upgrading connect into one cycle
- Observe how deeper cave sections reward better equipment
- Great visual reference for route pacing and upgrade timing
Here is how the main loop breaks down:
| Phase | Action | Goal | Watch Out For |
|---|---|---|---|
| 1. Mine | Break rocks near your entry point | Fill backpack with resources | Wandering too far too early |
| 2. Sell | Return to the selling area | Convert resources into Cash | Full backpack halting your run |
| 3. Upgrade | Buy equipment improvements | Remove your biggest bottleneck | Spending everything on one item |
| 4. Advance | Push deeper into the cave | Reach more valuable deposits | Weak gear in harder areas |
| 5. Escape | Progress to the tunnel's end | Complete the escape objective | Detours that risk the run |
The single most common mistake is mining until your backpack fills before your first sale. Sell early and often—consistent small runs beat one ambitious run that fails.
Step-by-Step Walkthrough: Start to Exit
Follow this sequence for your first full escape. Each step builds directly on the previous one.
Start Mining Nearby Rocks
Use your starting equipment on the closest deposits. The goal here is learning the mining area and controls, not maximum profit. Stay near familiar ground until you can mine without thinking.
Return and Sell Before You Fill Up
Bring materials back to the selling area and convert them into Cash. Selling regularly prevents a full backpack from cutting your run short and keeps currency flowing.
Buy Your First Key Upgrades
Reinvest earnings into mining power and carrying capacity. A stronger pickaxe speeds up every future trip, and a larger backpack reduces return visits—these two compound together.
Extend Your Route Deeper
With better equipment, travel farther into the cave and target more valuable deposits. Only advance when your current gear handles the area efficiently; otherwise you waste time on slow mining.
Progress Toward the Exit
Keep balancing mining speed, storage, and transportation while advancing through the tunnel. Regroup before the final section and prioritize completing the escape over optional exploration.
Avoid dumping all your currency into one upgrade. If your pickaxe is strong but your backpack is tiny, you still walk back constantly—upgrade whatever system is currently slowing you down the most.
Tools and Upgrades: What to Buy and When
Upgrade decisions should always attack your current bottleneck. This comparison table shows where each category shines:
| Upgrade | Function | Best Time to Buy | Value |
|---|---|---|---|
| Pickaxes | Faster rock breaking | Early game, when mining feels slow | ★★★★★ |
| Backpacks | Carry more per trip | Whenever backpack fills mid-route | ★★★★★ |
| Cars | Faster travel on long runs | When travel time dominates the run | ★★★★ |
| Drills | Sustained advanced mining | Mid game, after stable income | ★★★★ |
| Dynamite | Clears tough obstacles | Situational, when it saves real time | ★★★ |
| Other | Misc progression support | Whenever it fixes your weakest area | Varies |
Early Priority
- Pickaxe first for faster mining
- Backpack second to cut return trips
- Skip explosives until core gear is solid
Mid Priority
- Drill once income is stable
- Car when routes get longer
- Focus on resources collected per trip
Late Priority
- Target your weakest system
- Balance speed, storage, and travel
- Prepare gear before Hard mode
Before every purchase, ask: "What wasted the most time on my last run?" That answer is your next upgrade.
Easy vs Hard Mode Route Planning
Both modes share the same objective, but Hard mode punishes improvised routes. Use this comparison to decide when to switch:
| Category | Easy Mode | Hard Mode |
|---|---|---|
| Difficulty | Forgiving, good for practice | Demanding, costly mistakes |
| Rewards | Stable, consistent income | Higher risk, higher payoff |
| Equipment | Basic gear acceptable | Upgraded gear strongly advised |
| Class Choice | Flexible, experimental | Complementary team roles |
| Preparation | Learn route and resources | Planned route, regroup point |
| Run Strategy | Collect and test upgrades | Stay together, prioritize completion |
Do not enter Hard mode if your team regularly runs out of time, loses members, or fails to reach final sections in Easy mode. Farm Easy first, build a currency reserve, then graduate.
For cooperative runs, divide resource areas before entering, announce when moving deeper, and regroup before the final escape—multiple players mining the same deposit wastes the whole team's time.
Ending, Secrets, and Completionist Route
The main ending is reached by following the primary tunnel route and completing the escape objective. Optional discoveries—hidden Diamonds, secret areas, and characters—sit off the main path and reward deliberate exploration.
Use a multi-run approach instead of risking everything in one attempt:
| Run | Objective | Difficulty |
|---|---|---|
| Run 1 | Learn the route, complete main ending | Easy |
| Run 2 | Collect nearby hidden Diamonds and side passages | Easy |
| Run 3 | Explore unexplored branches and secret areas | Easy/Hard |
| Final pass | Confirm optional characters and discoveries | Safest available |
Inspect branches before advancing past them, and record discovered locations so future farming routes become faster. Exploration is a separate objective from escaping.
Escape Checklist
Before Your Next Run:
- Upgrade pickaxe and backpack past starter tier
- Plan route and regroup point before entering
- Sell resources before backpack fills
- Assign roles in cooperative runs
- Complete the main ending before hunting secrets
Walkthrough FAQ
Q: What is the first upgrade I should buy in Escape the Cave?
A stronger pickaxe is usually the clearest first investment because it speeds up every mining trip. Follow it with a larger backpack so you carry more resources before returning to sell.
Q: How do I unlock the main ending?
Follow the primary tunnel route while keeping enough resources and time for the final escape sequence. Prioritize reaching the end over optional exploration, and complete the escape objective to trigger the ending.
Q: When should I switch from Easy to Hard mode?
Switch once you can complete Easy runs consistently with upgraded equipment and a known route. Hard mode demands better preparation, and failed runs reduce your overall farming efficiency.
Q: Where do I find hidden Diamonds and secret areas?
They appear off the direct route, usually in side passages and overlooked spaces. Search them on a dedicated exploration run after securing the main ending rather than risking your first completion.
You can jump into Escape the Cave directly on its official Roblox game page and test this walkthrough route yourself.